micro:bit Christmas Decoration
About the micro:bit

- the full block language MakeCode Editor can be found here: https://makecode.microbit.org/
- you have been provided with the new VER: 2.0 of the BBC micro:bit that has a microphone, speaker and touch capacitive sensor
About the micro:bit Christmas Decoration
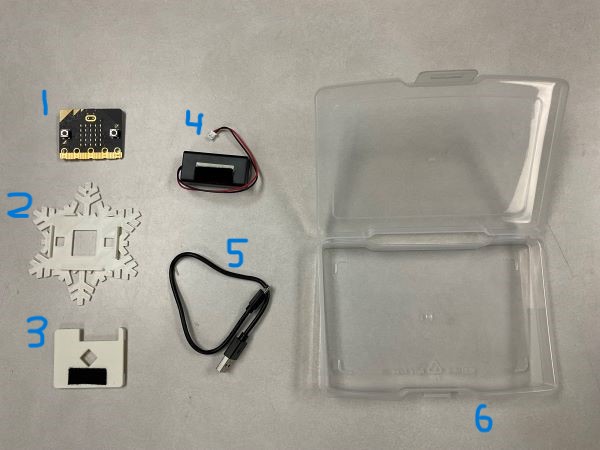
The micro:bit Christmas Decoration comes with the following parts:
- BBC micro:bit, VER: 2.0
- 3D printed snowflake front
- 3D printed snowflake back, with velcro
- BBC micro:bit battery pack, with velcro
- USB cable to program micro:bit
- container
Assemble the micro:bit Christmas Decoration
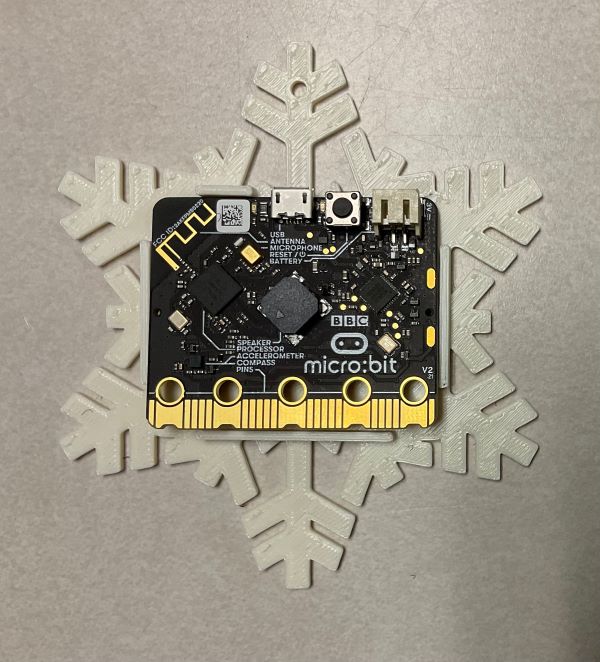
- place micro:bit inside the snowflake front, the hole is the top to hang on tree
- press on the snowflake back, the cutout goes to the top
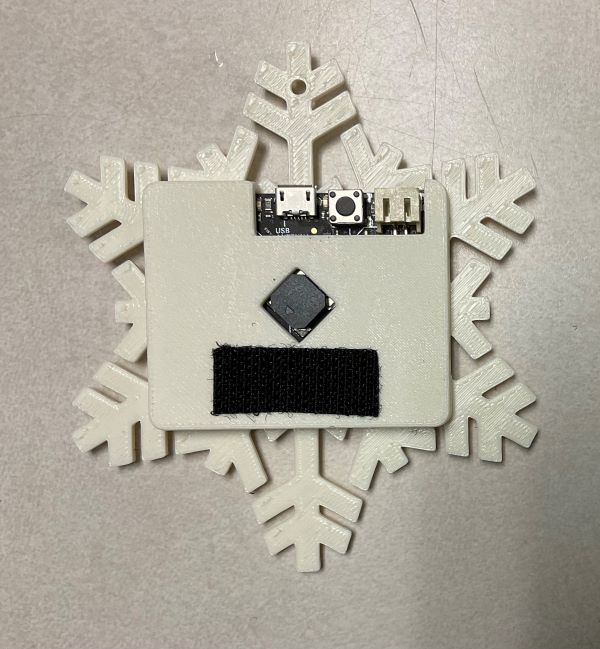
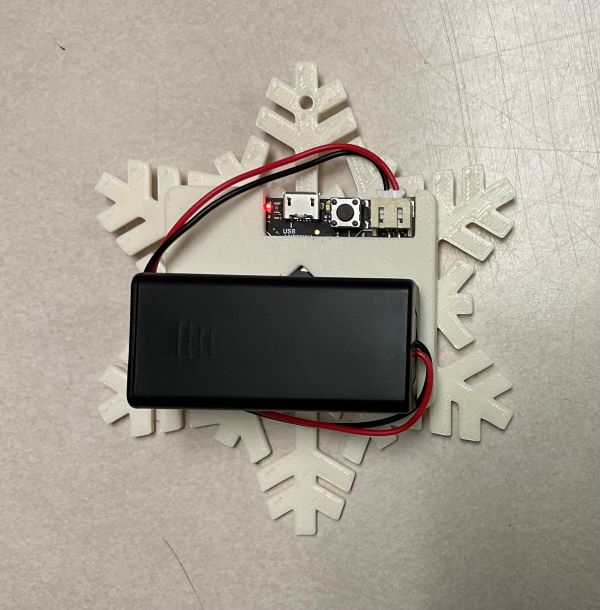
- attach the battery using the velcro
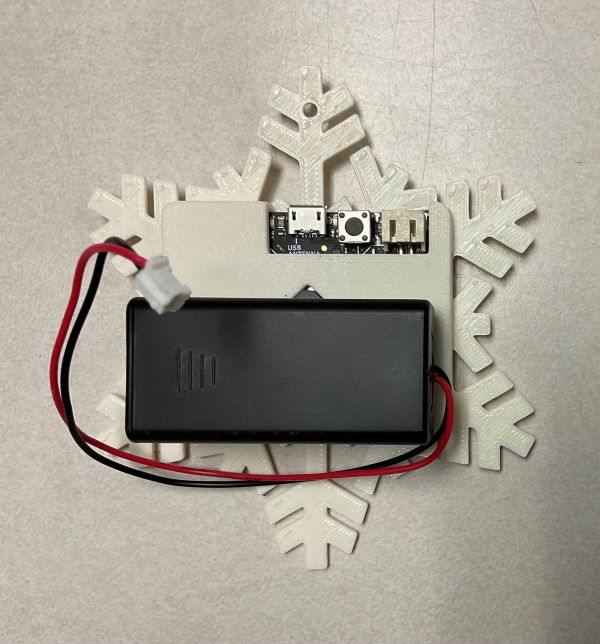
- connect the battery to the micro:bit, it will only go in 1 way
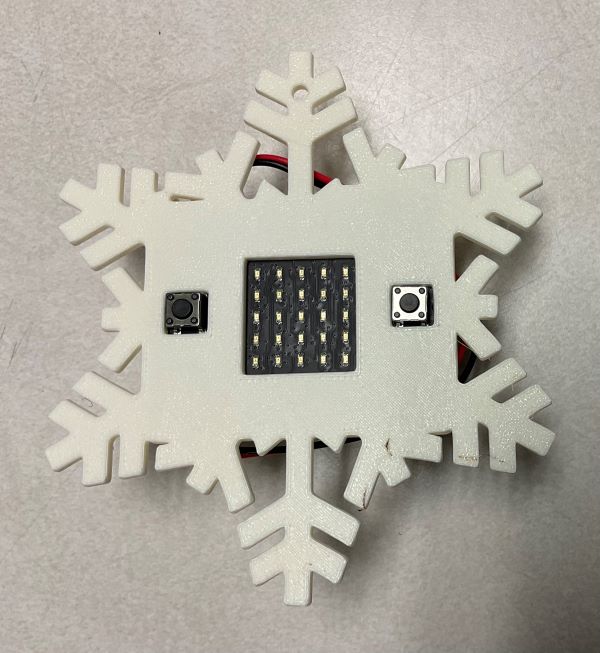
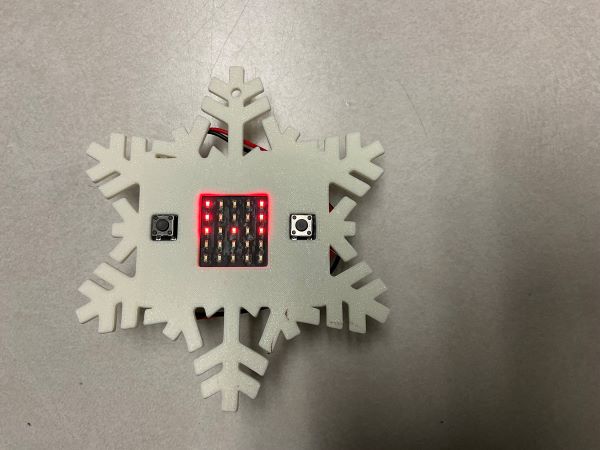
- press “A” & “B” and watch the program run
- turning off
- if turning off for a short time, press and hold the “reset” button on the back for 5 seconds
- press the reset button again to turn back on
- if storing for a long time, disconnect the battery cable from the micro:bit
- if turning off for a short time, press and hold the “reset” button on the back for 5 seconds
Reuse the micro:bit Christmas Decoration
The micro:bit Christmas Decoration is not to be used JUST as a decoration. The micro:bit is intended to be removed and used to continue to learn more about coding. Many more lessons can be found here: https://microbit.org/teach/lessons/
Lessons we worked through in class
We worked through this Hapara Workspace to learn how to use the micro:bit.
Here are the lessons:
Tinkercad Design
Here is the link to the Tinkercad design for the snowflake: https://www.tinkercad.com/things/5dpovJszcTf-microbit-snowflack-case-v20/edit?sharecode=SfmSijLVAsZthSbKHzllhNOk0dBGGyuq_4UVjJuKst8
STL files
Here are the STL files for the snowflake parts:
Metadata (used for search, rendering)
- for PXT/microbit